How to Needle Felt a Valentine Heart Sculpture
In this tutorial, I will be needle felting a Valentine’s heart sculpture. This is a fairly easy sculpture to make. However, you do need to have some basic needle felting knowledge. You will need:
White or natural core wool
Red wool
Blue, teal, pink, or purple wool
All the wools should be 27 microns or a little higher
Number 40 needle and a 36 needle
Wool felting pad or sponge
Heart-shaped cookie cutter
Small seed beads, size 6 or 8, any colors you like.
Fabric tack glue, clear
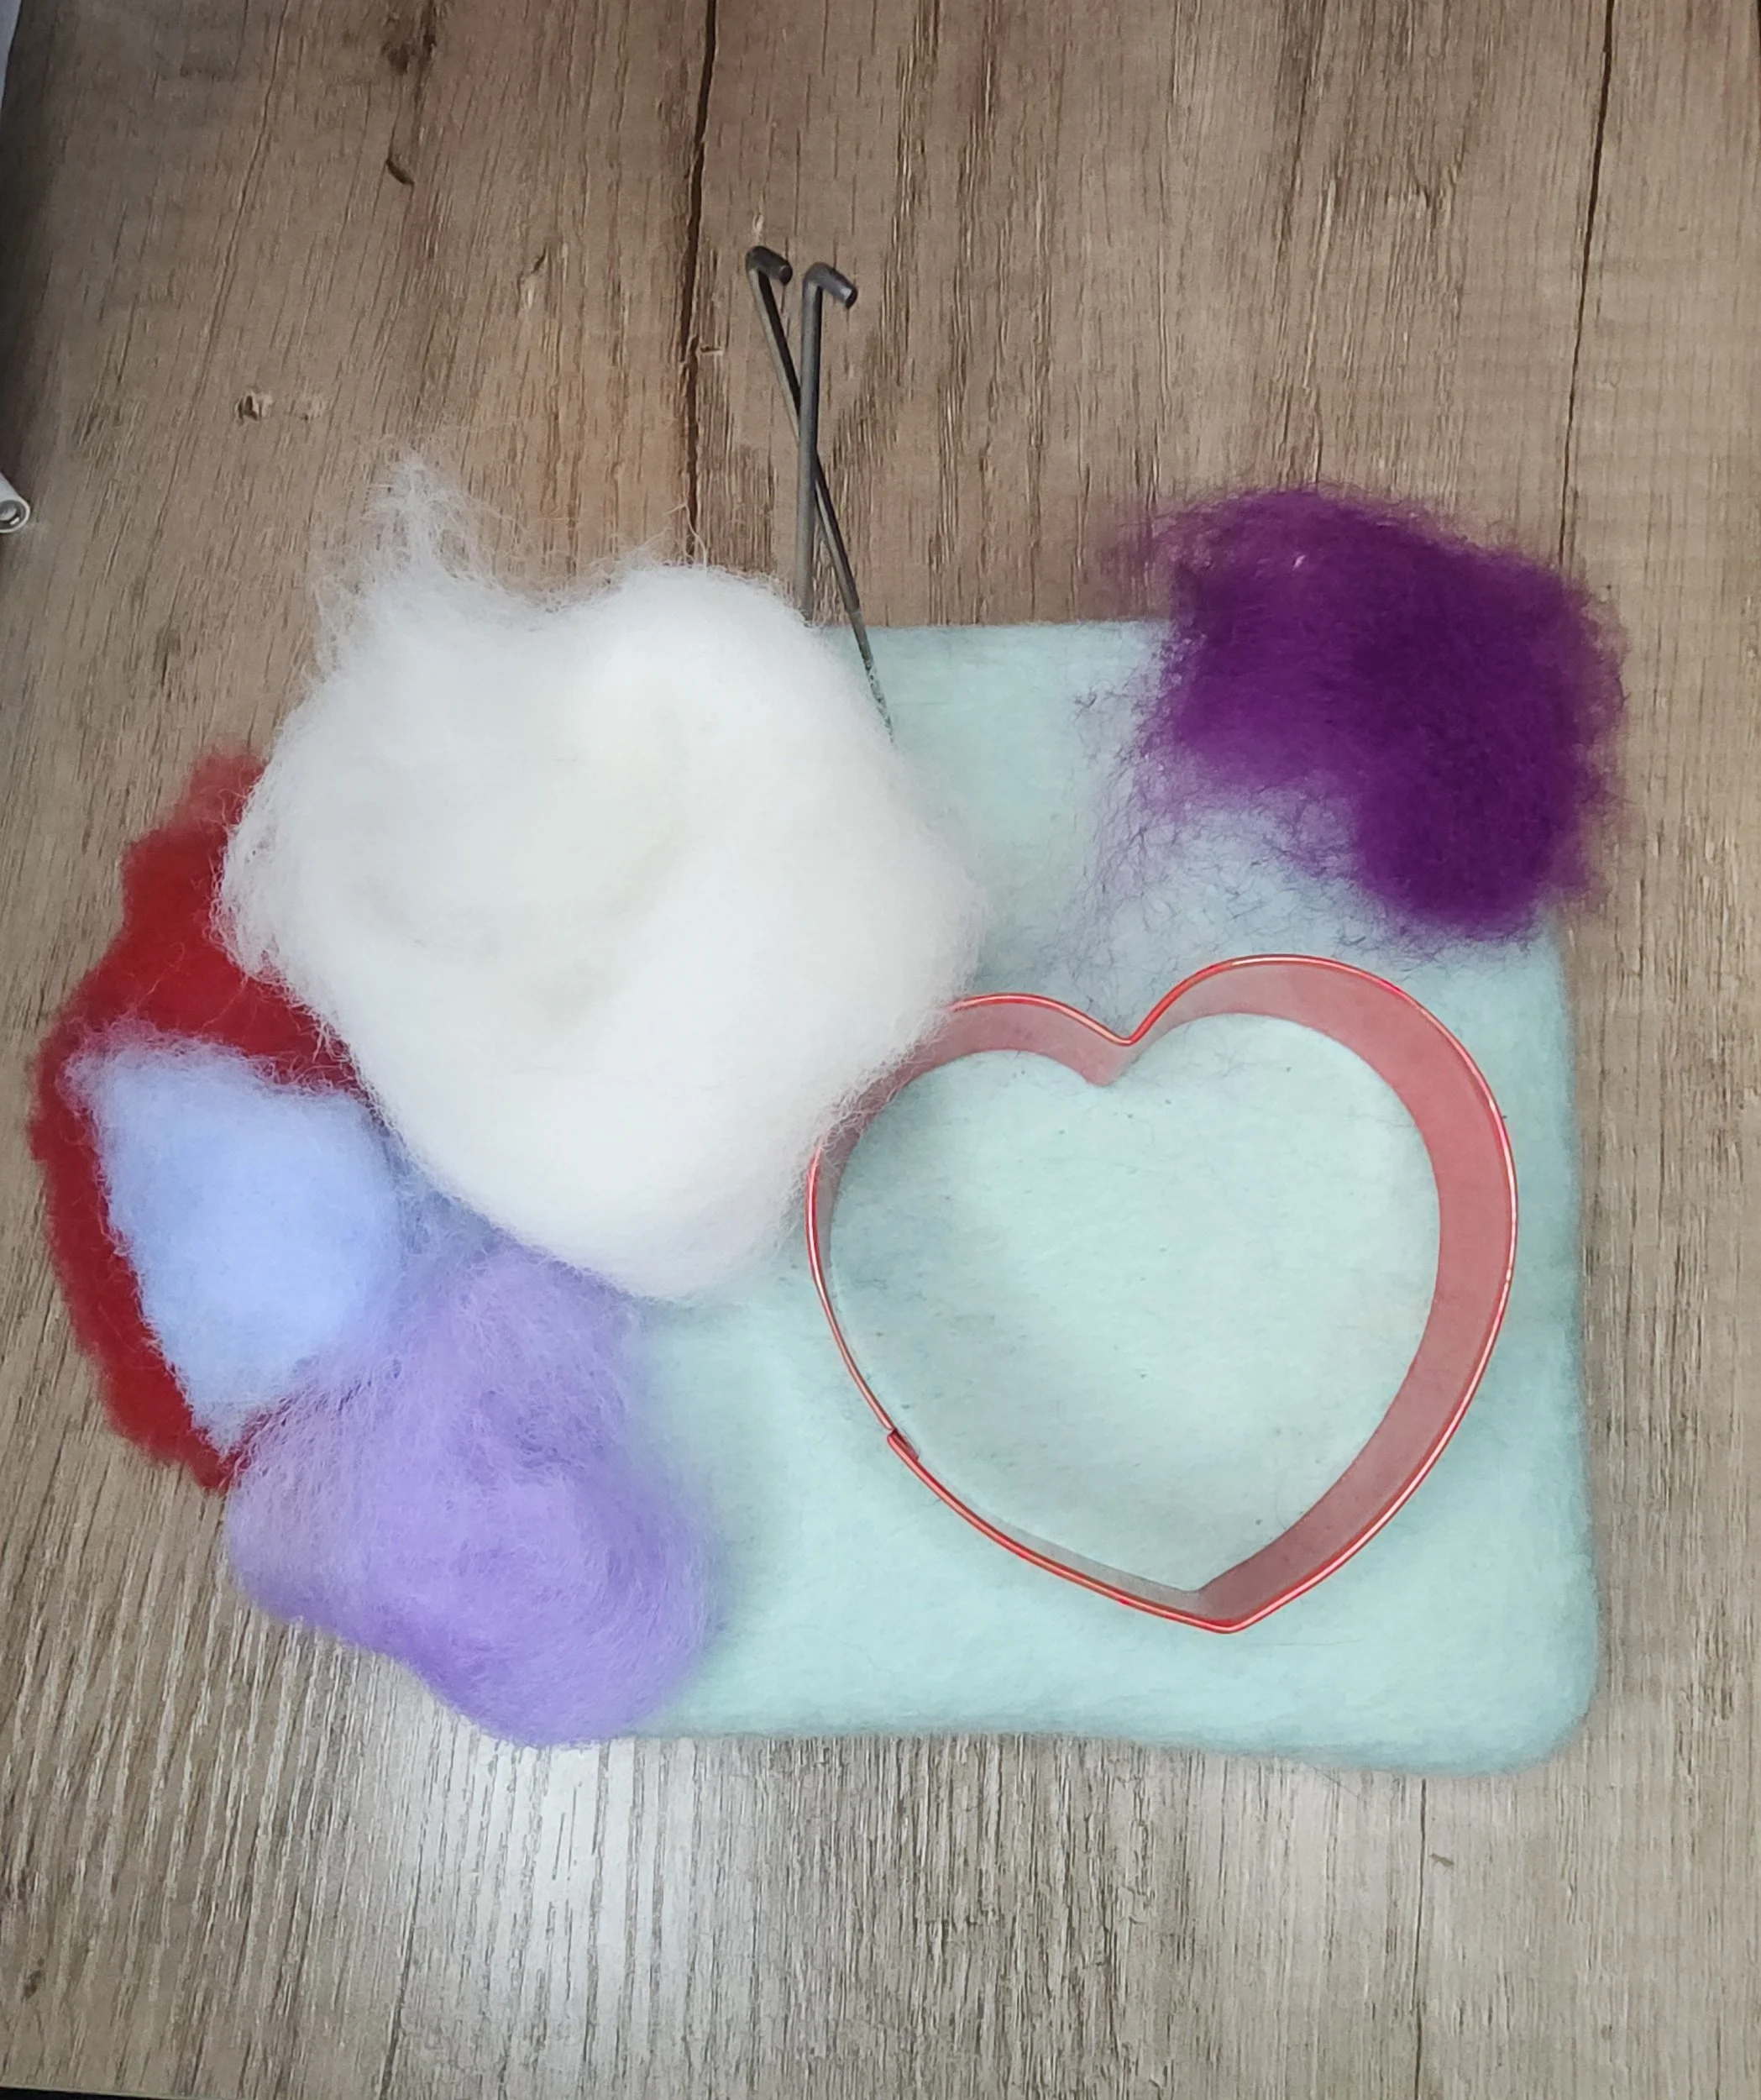
For the first step, I used a cookie cutter to develop the initial shape. I will take it out later. I put a small amount of wool in the cookie cutter and begin stabbing it with the Number 40 needle. This needle will form the wool fairly quickly. Once you have achieved the shape of the heart, take it out of the cookie cutter.
Begin adding small amounts of wool to the heart shape, constantly stabbing and shaping as you go. The goal is not to have a flat shape but a full rounded shape. The heart should be semi-hard at this point. You do not want a soft, squishy heart.
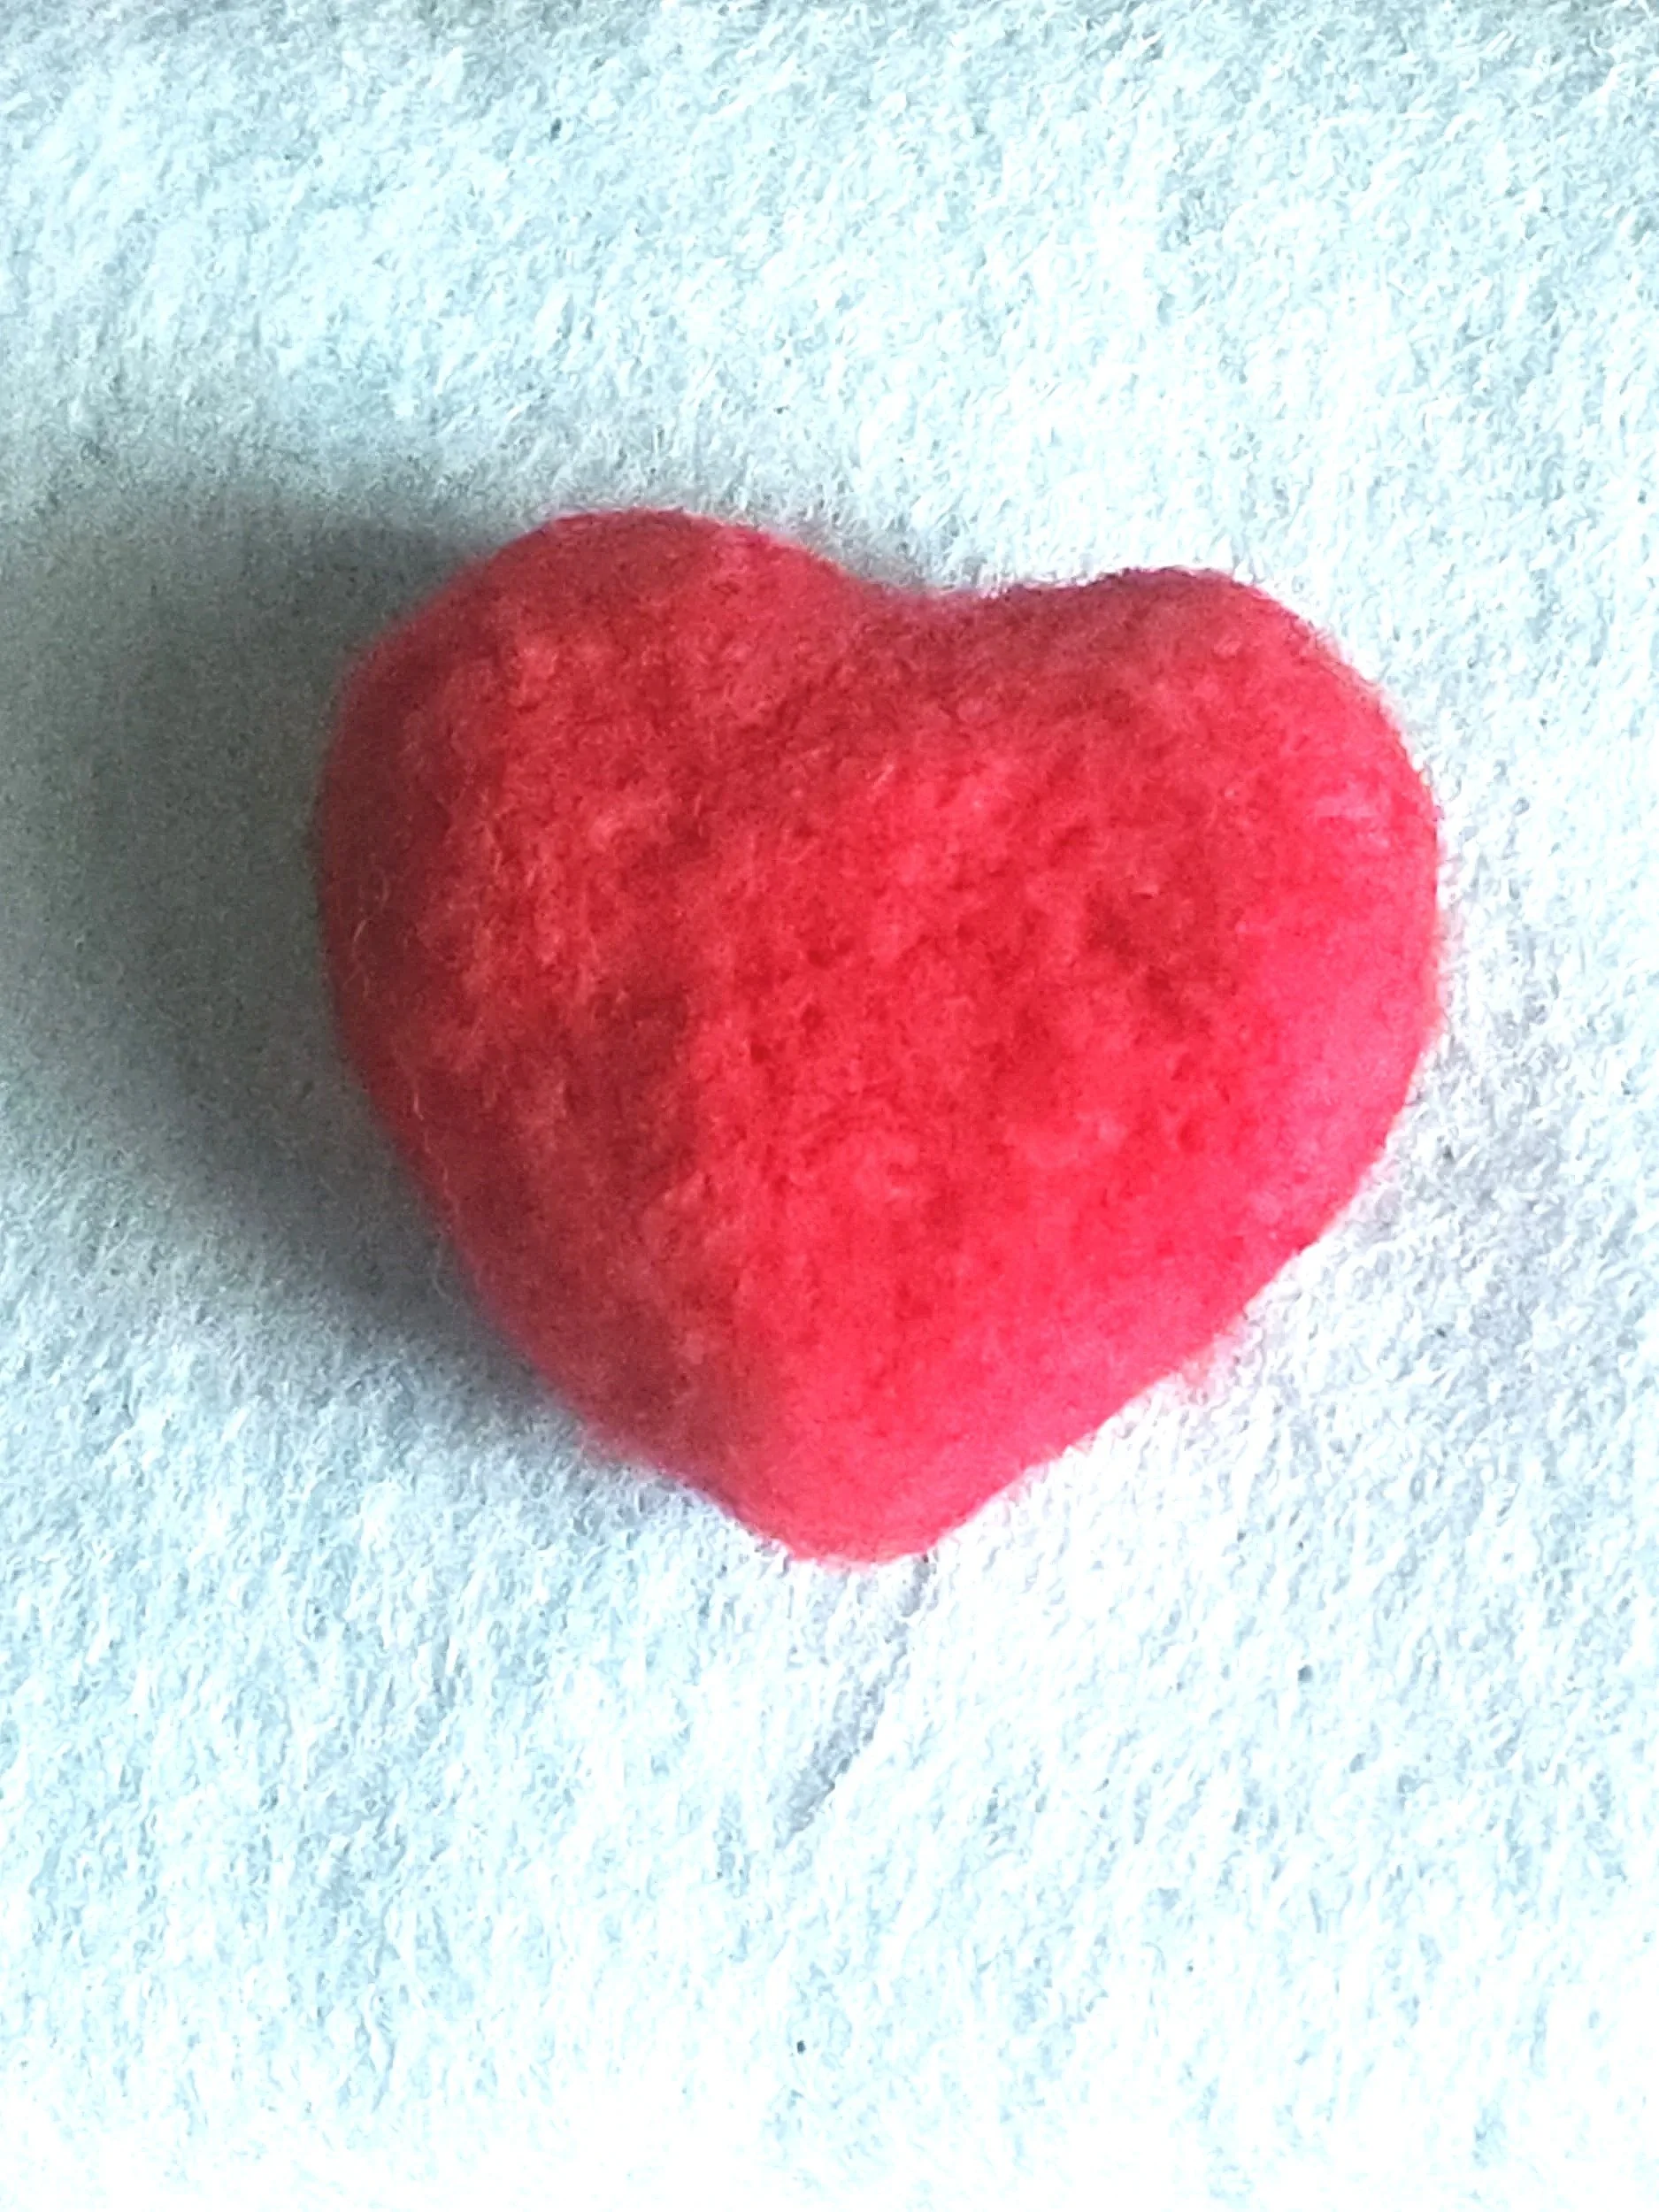
Once I am satisfied with the shape, I can add the red to the heart. You do not need much wool to achieve this. Add small amounts at a time until all the white has disappeared.
During this process, your heart should be getting firmer as you go. By the time you are done adding the red wool, it should be firm. Also, note that your heart will be smaller than your cookie-cutter size. This is ok. This whole process should take about an hour.
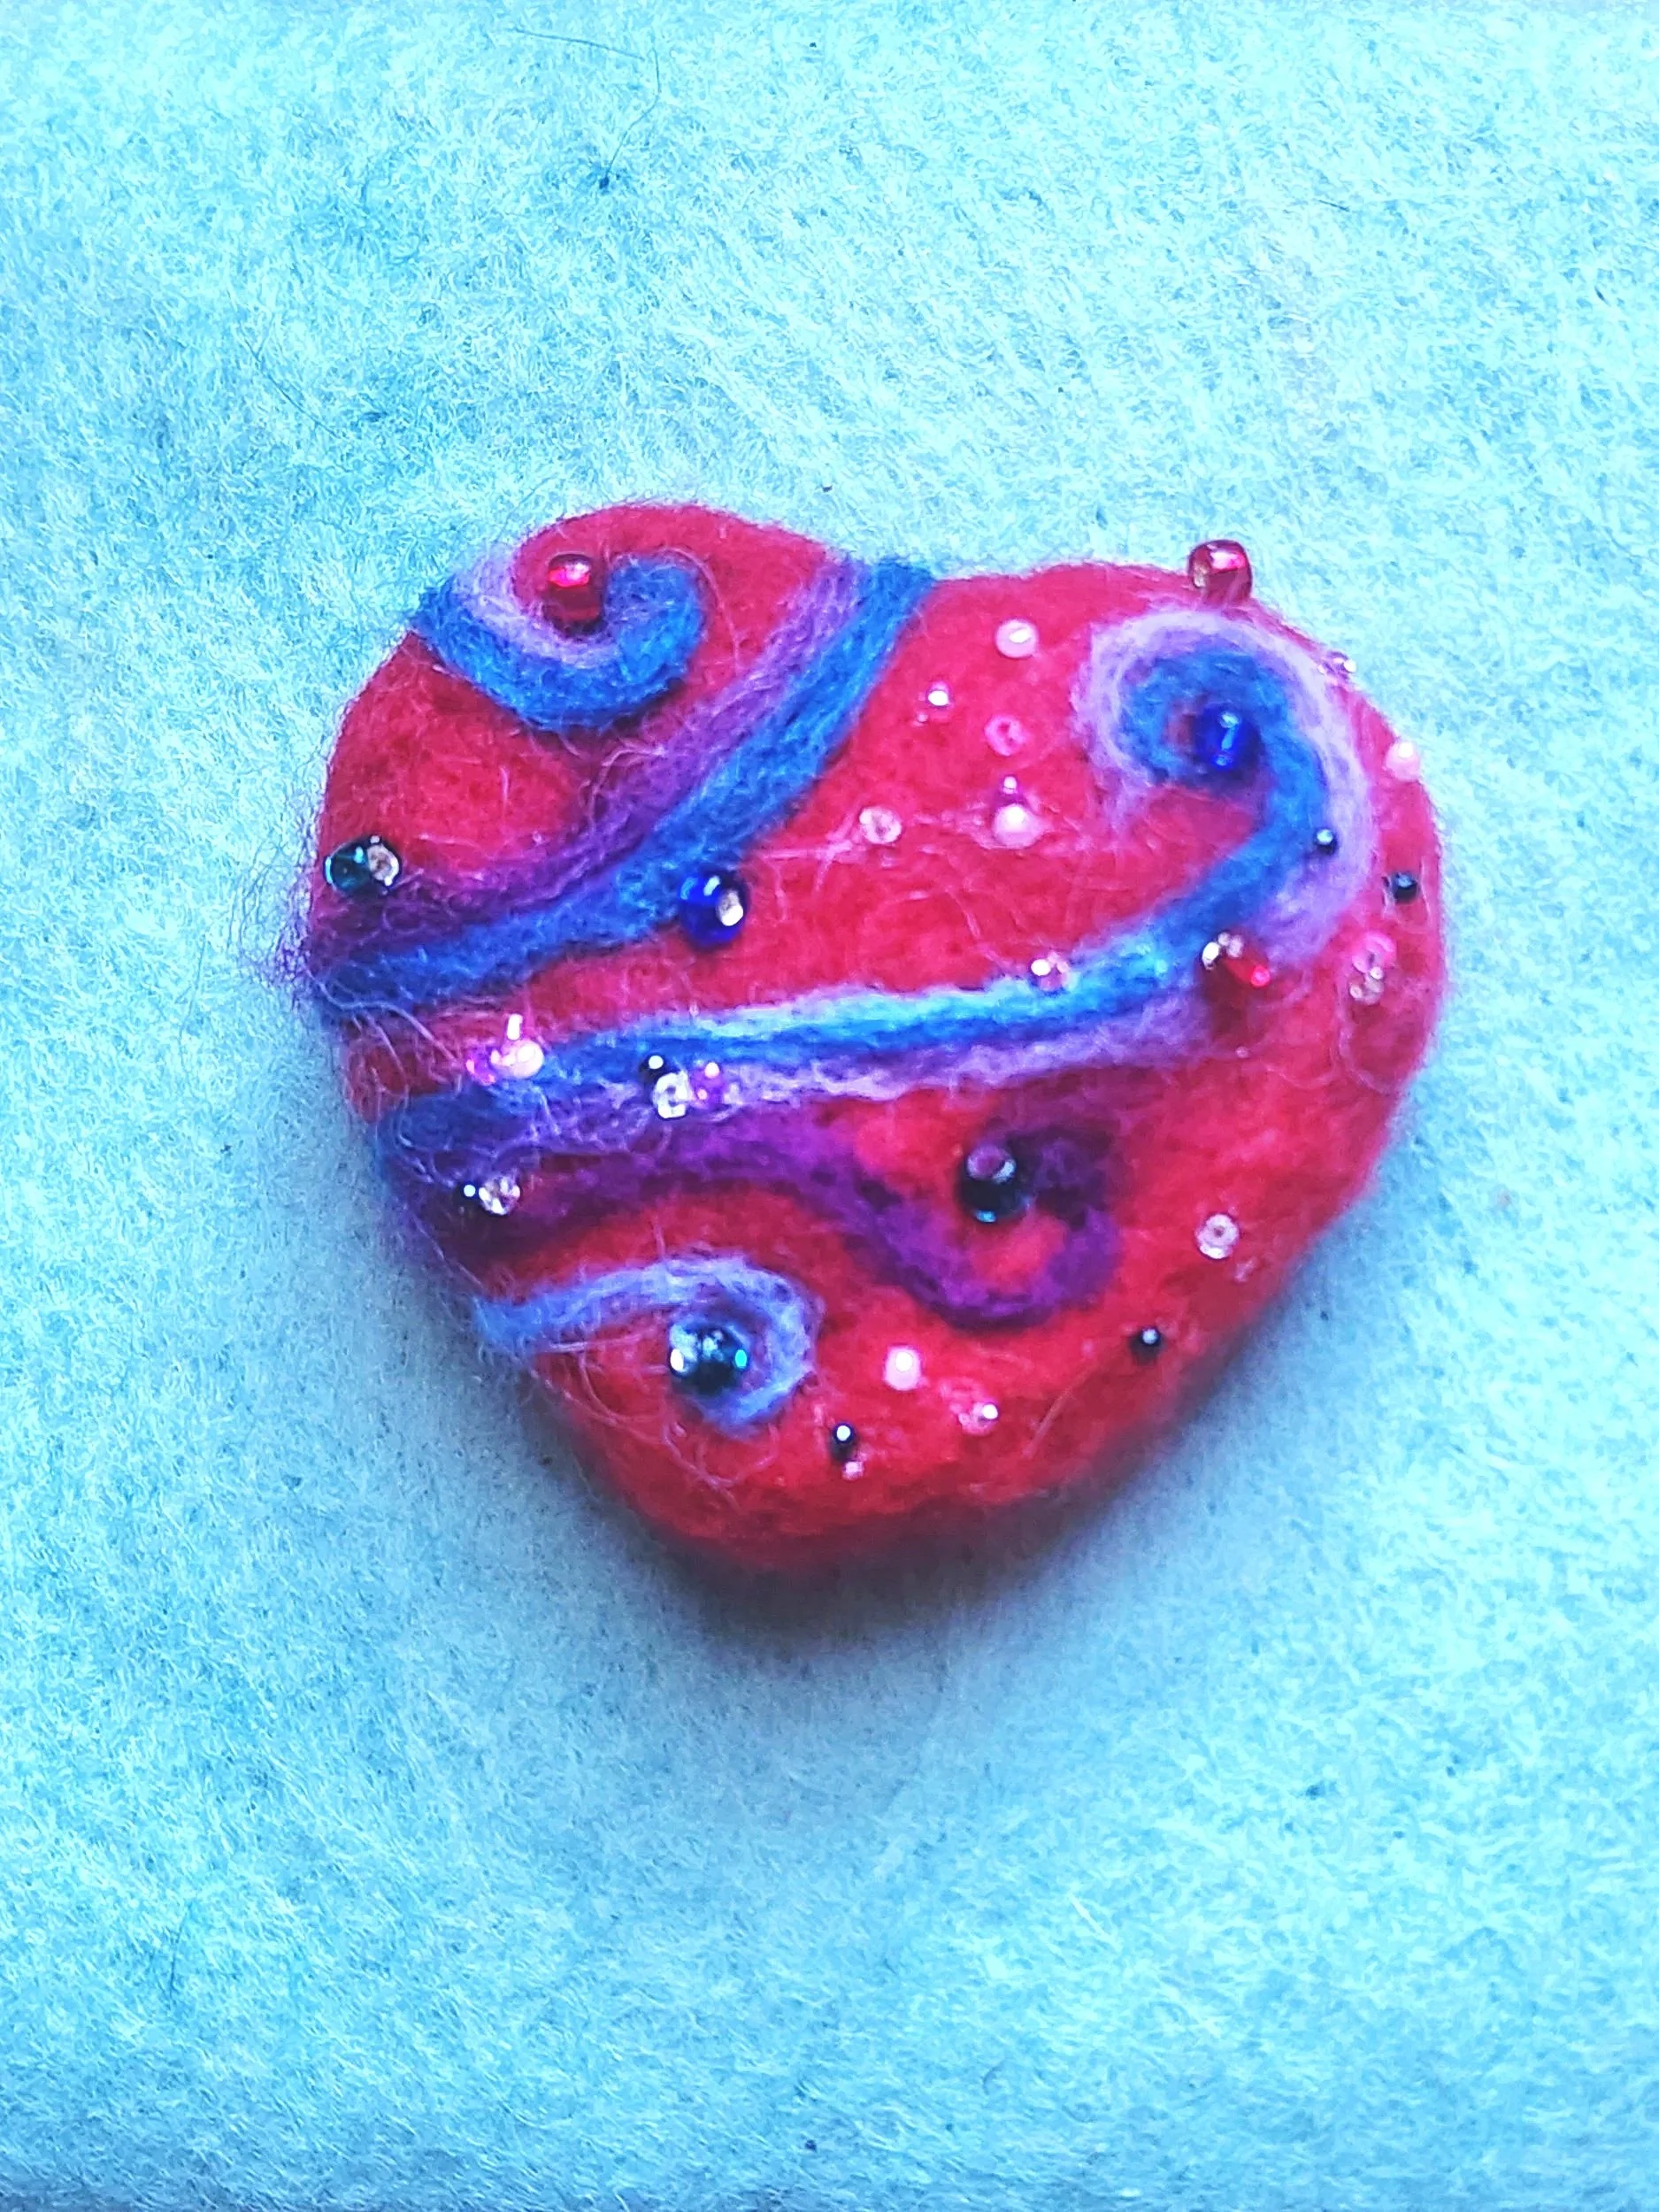
Now for the decorations. At this point, you may decorate your heart as you please. However, I will show you how to decorate the details shown in the picture.
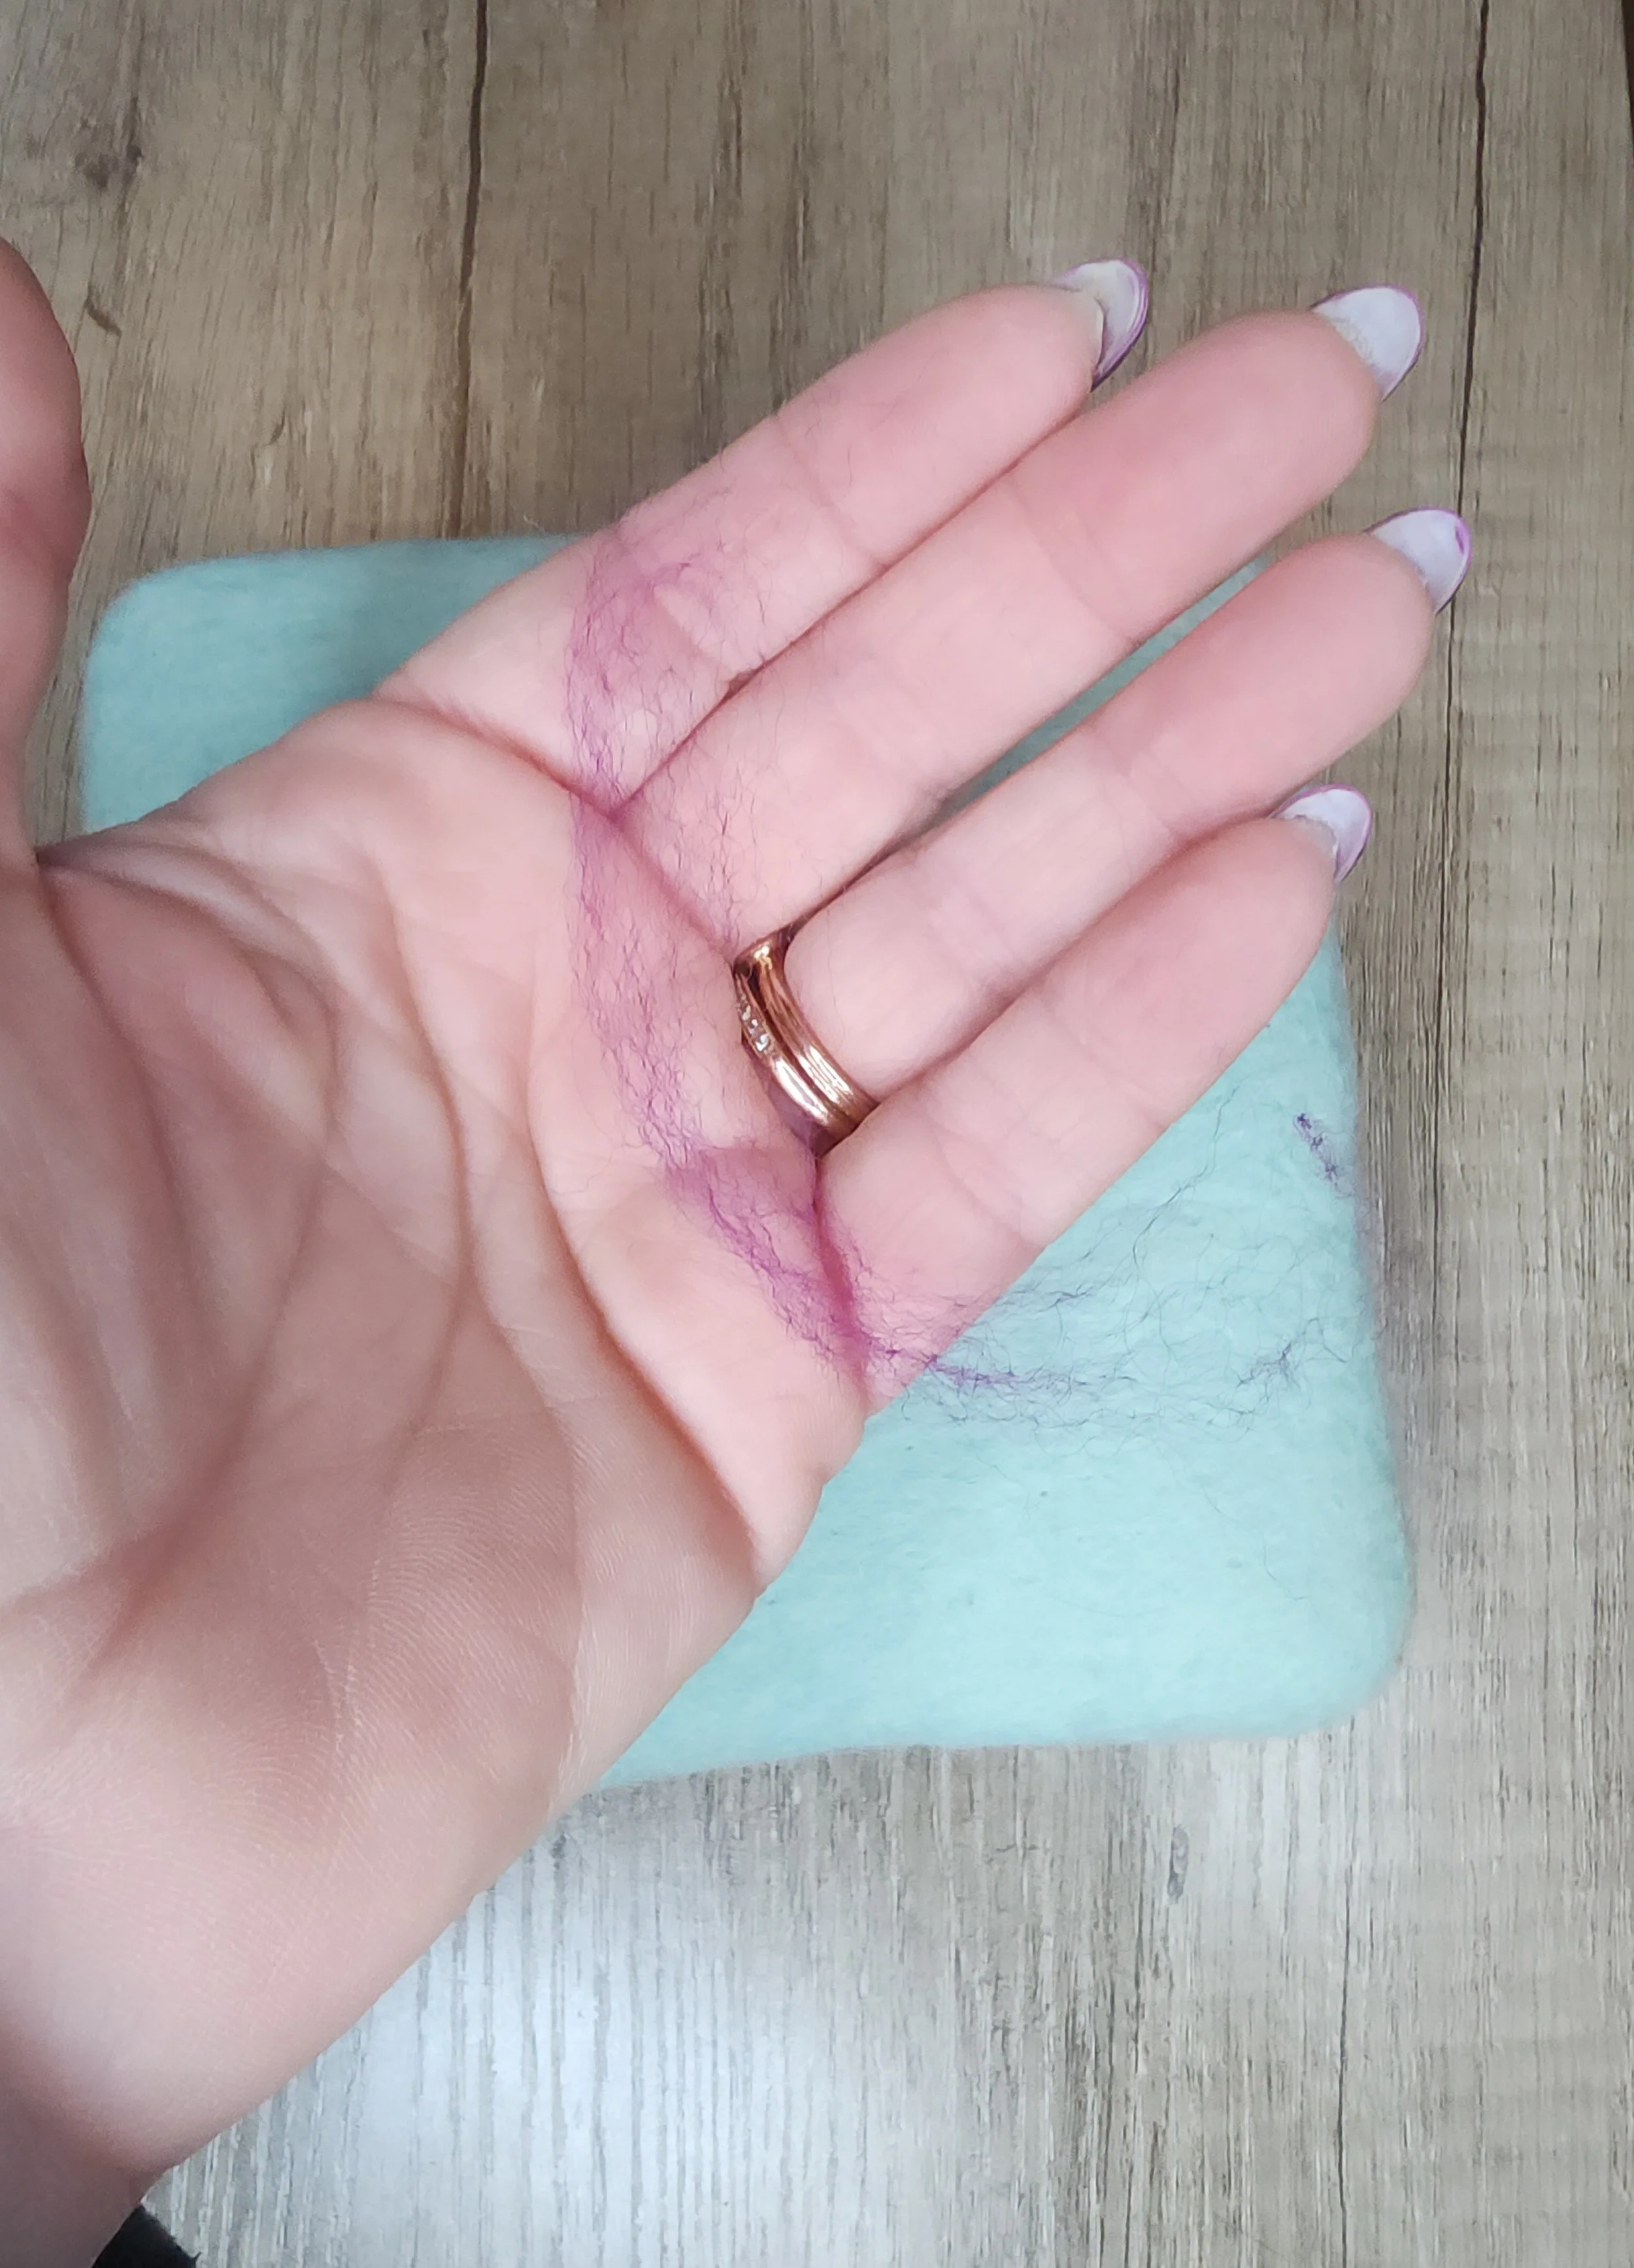
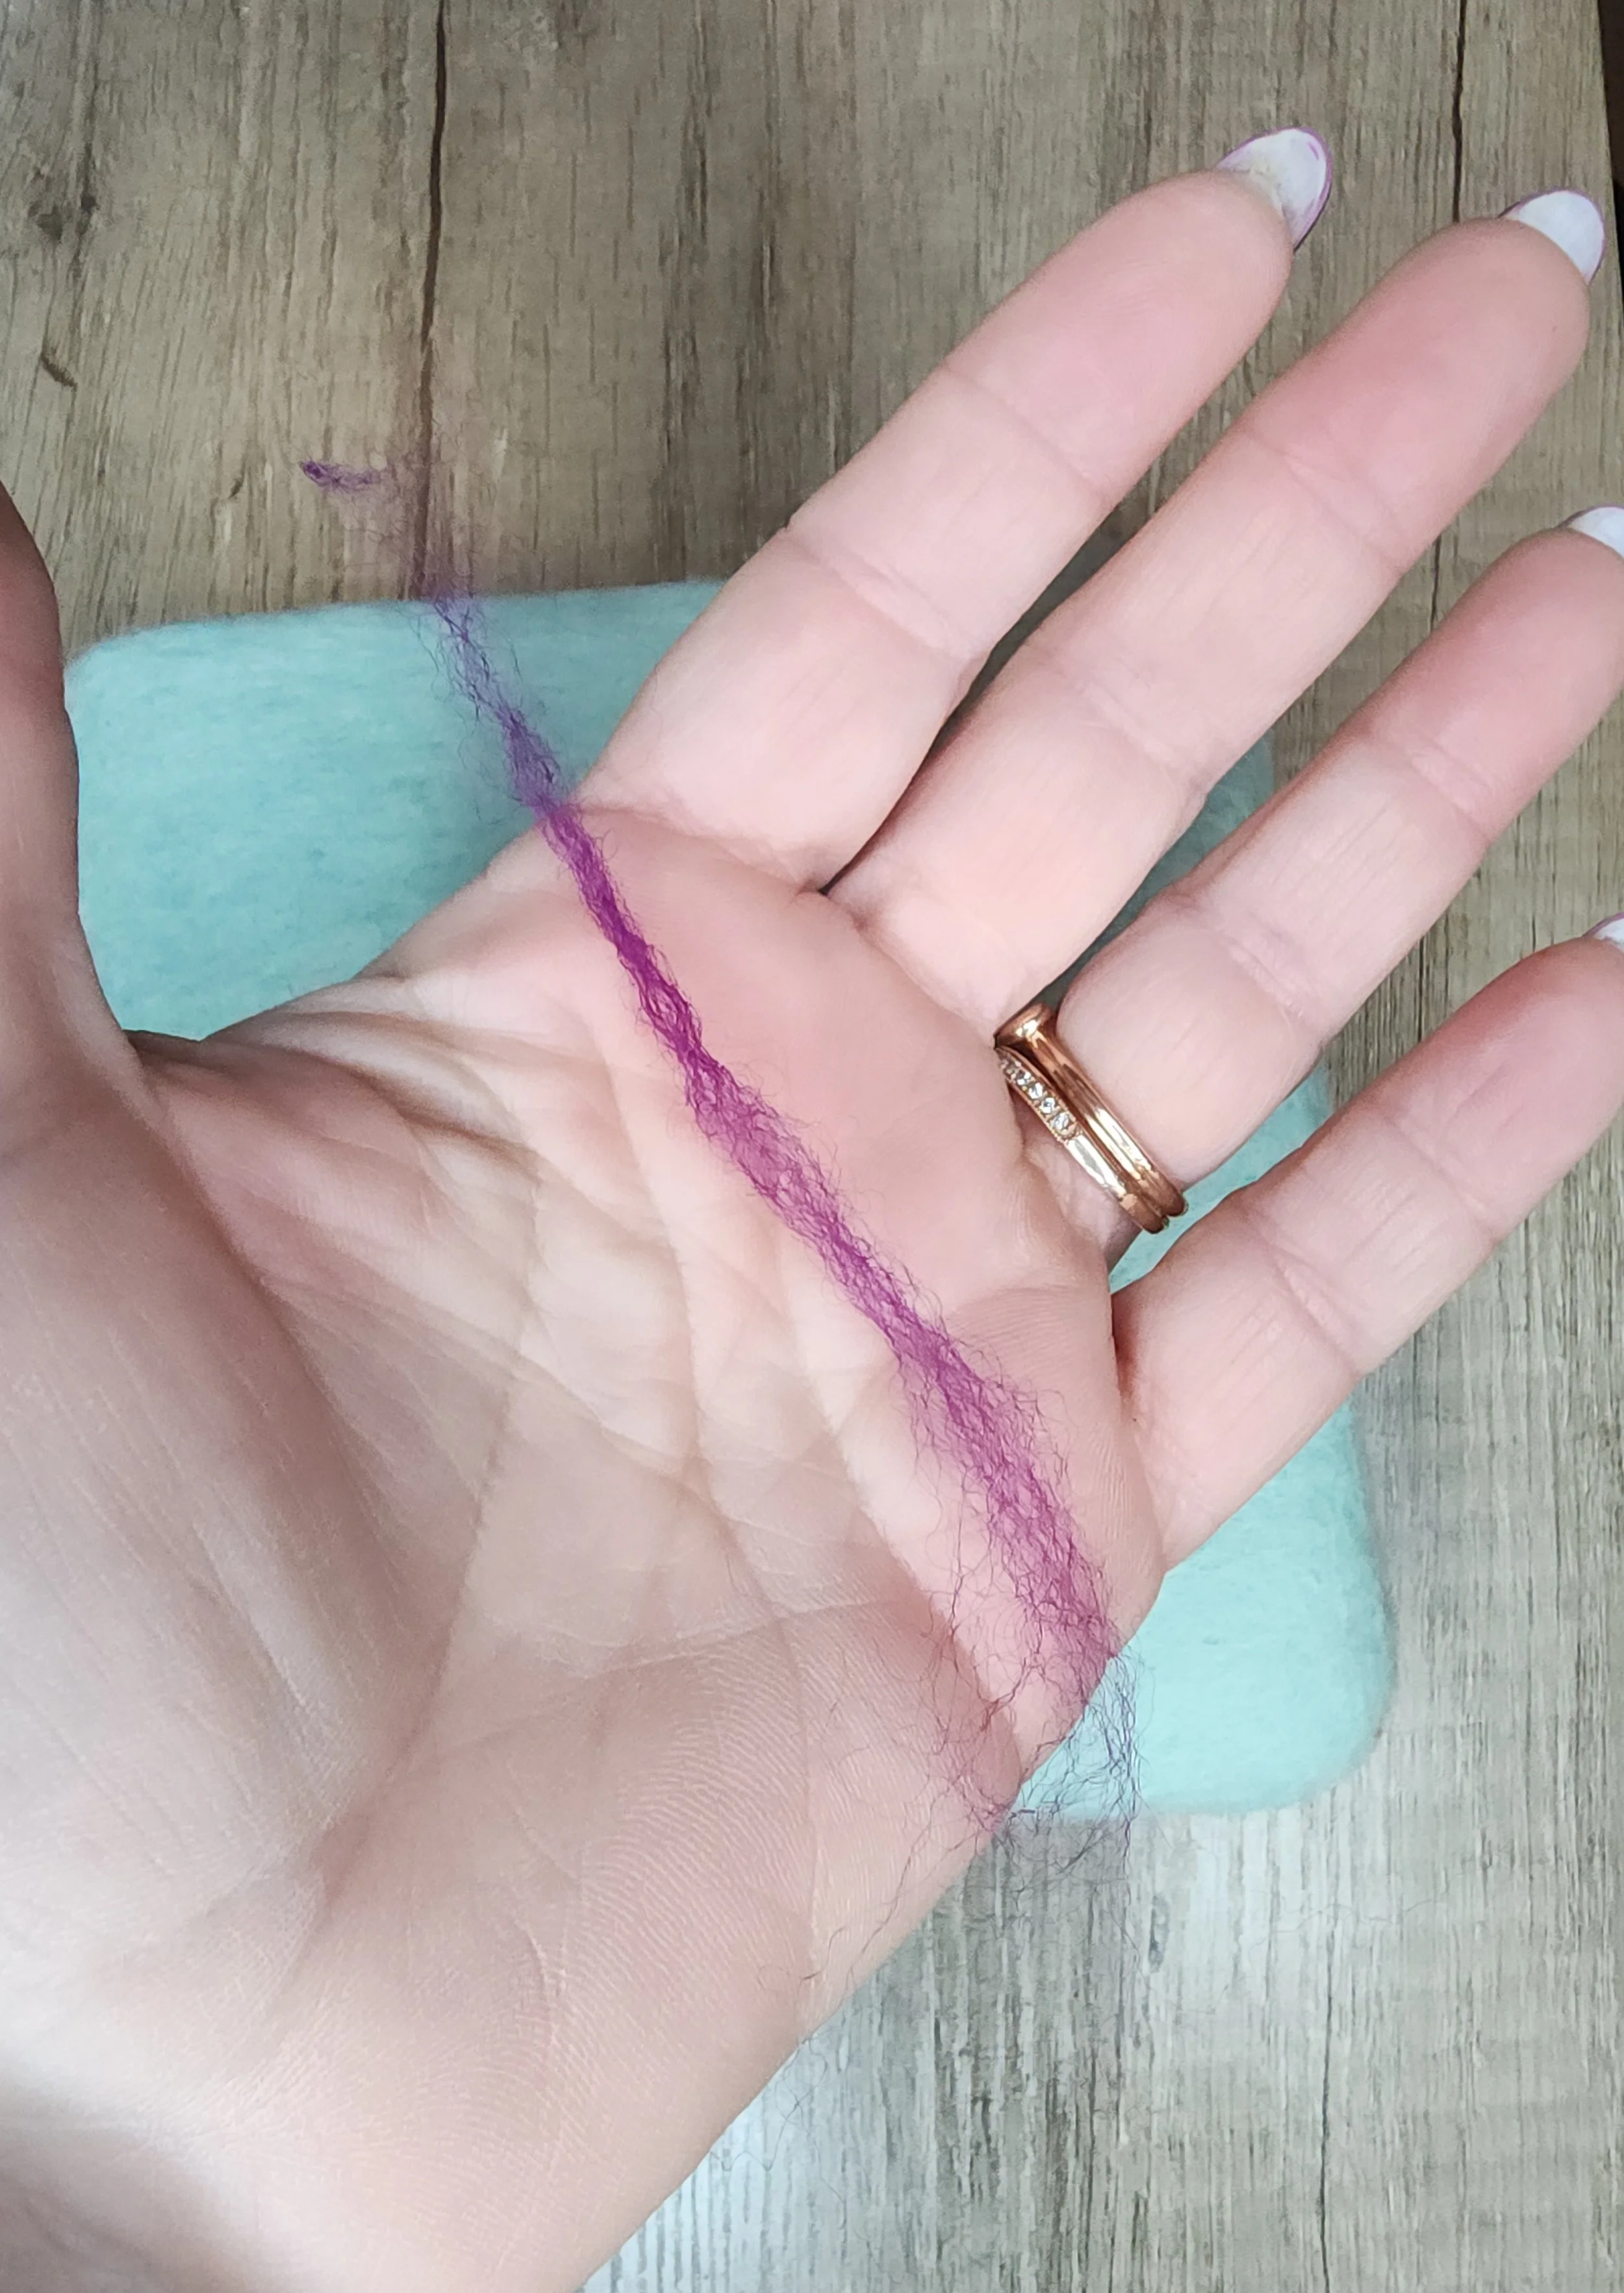
To make the lines and the scroll work, you need the smallest amount of wool. Pull a piece of wool that you can barely see. Then take the wool and stretch it out into a straight line. Place it in the palm of your hand. Sounds gross, but lick your other palm( I should tell you that you want clean hands), then rub your two palms together to make the long strand come together so it’s more solid. Keep wetting it if it’s not quite firm enough. You can also softly stretch the wool to make your piece longer if you so desire. Then wrap it around the heart, ending in a little scroll.
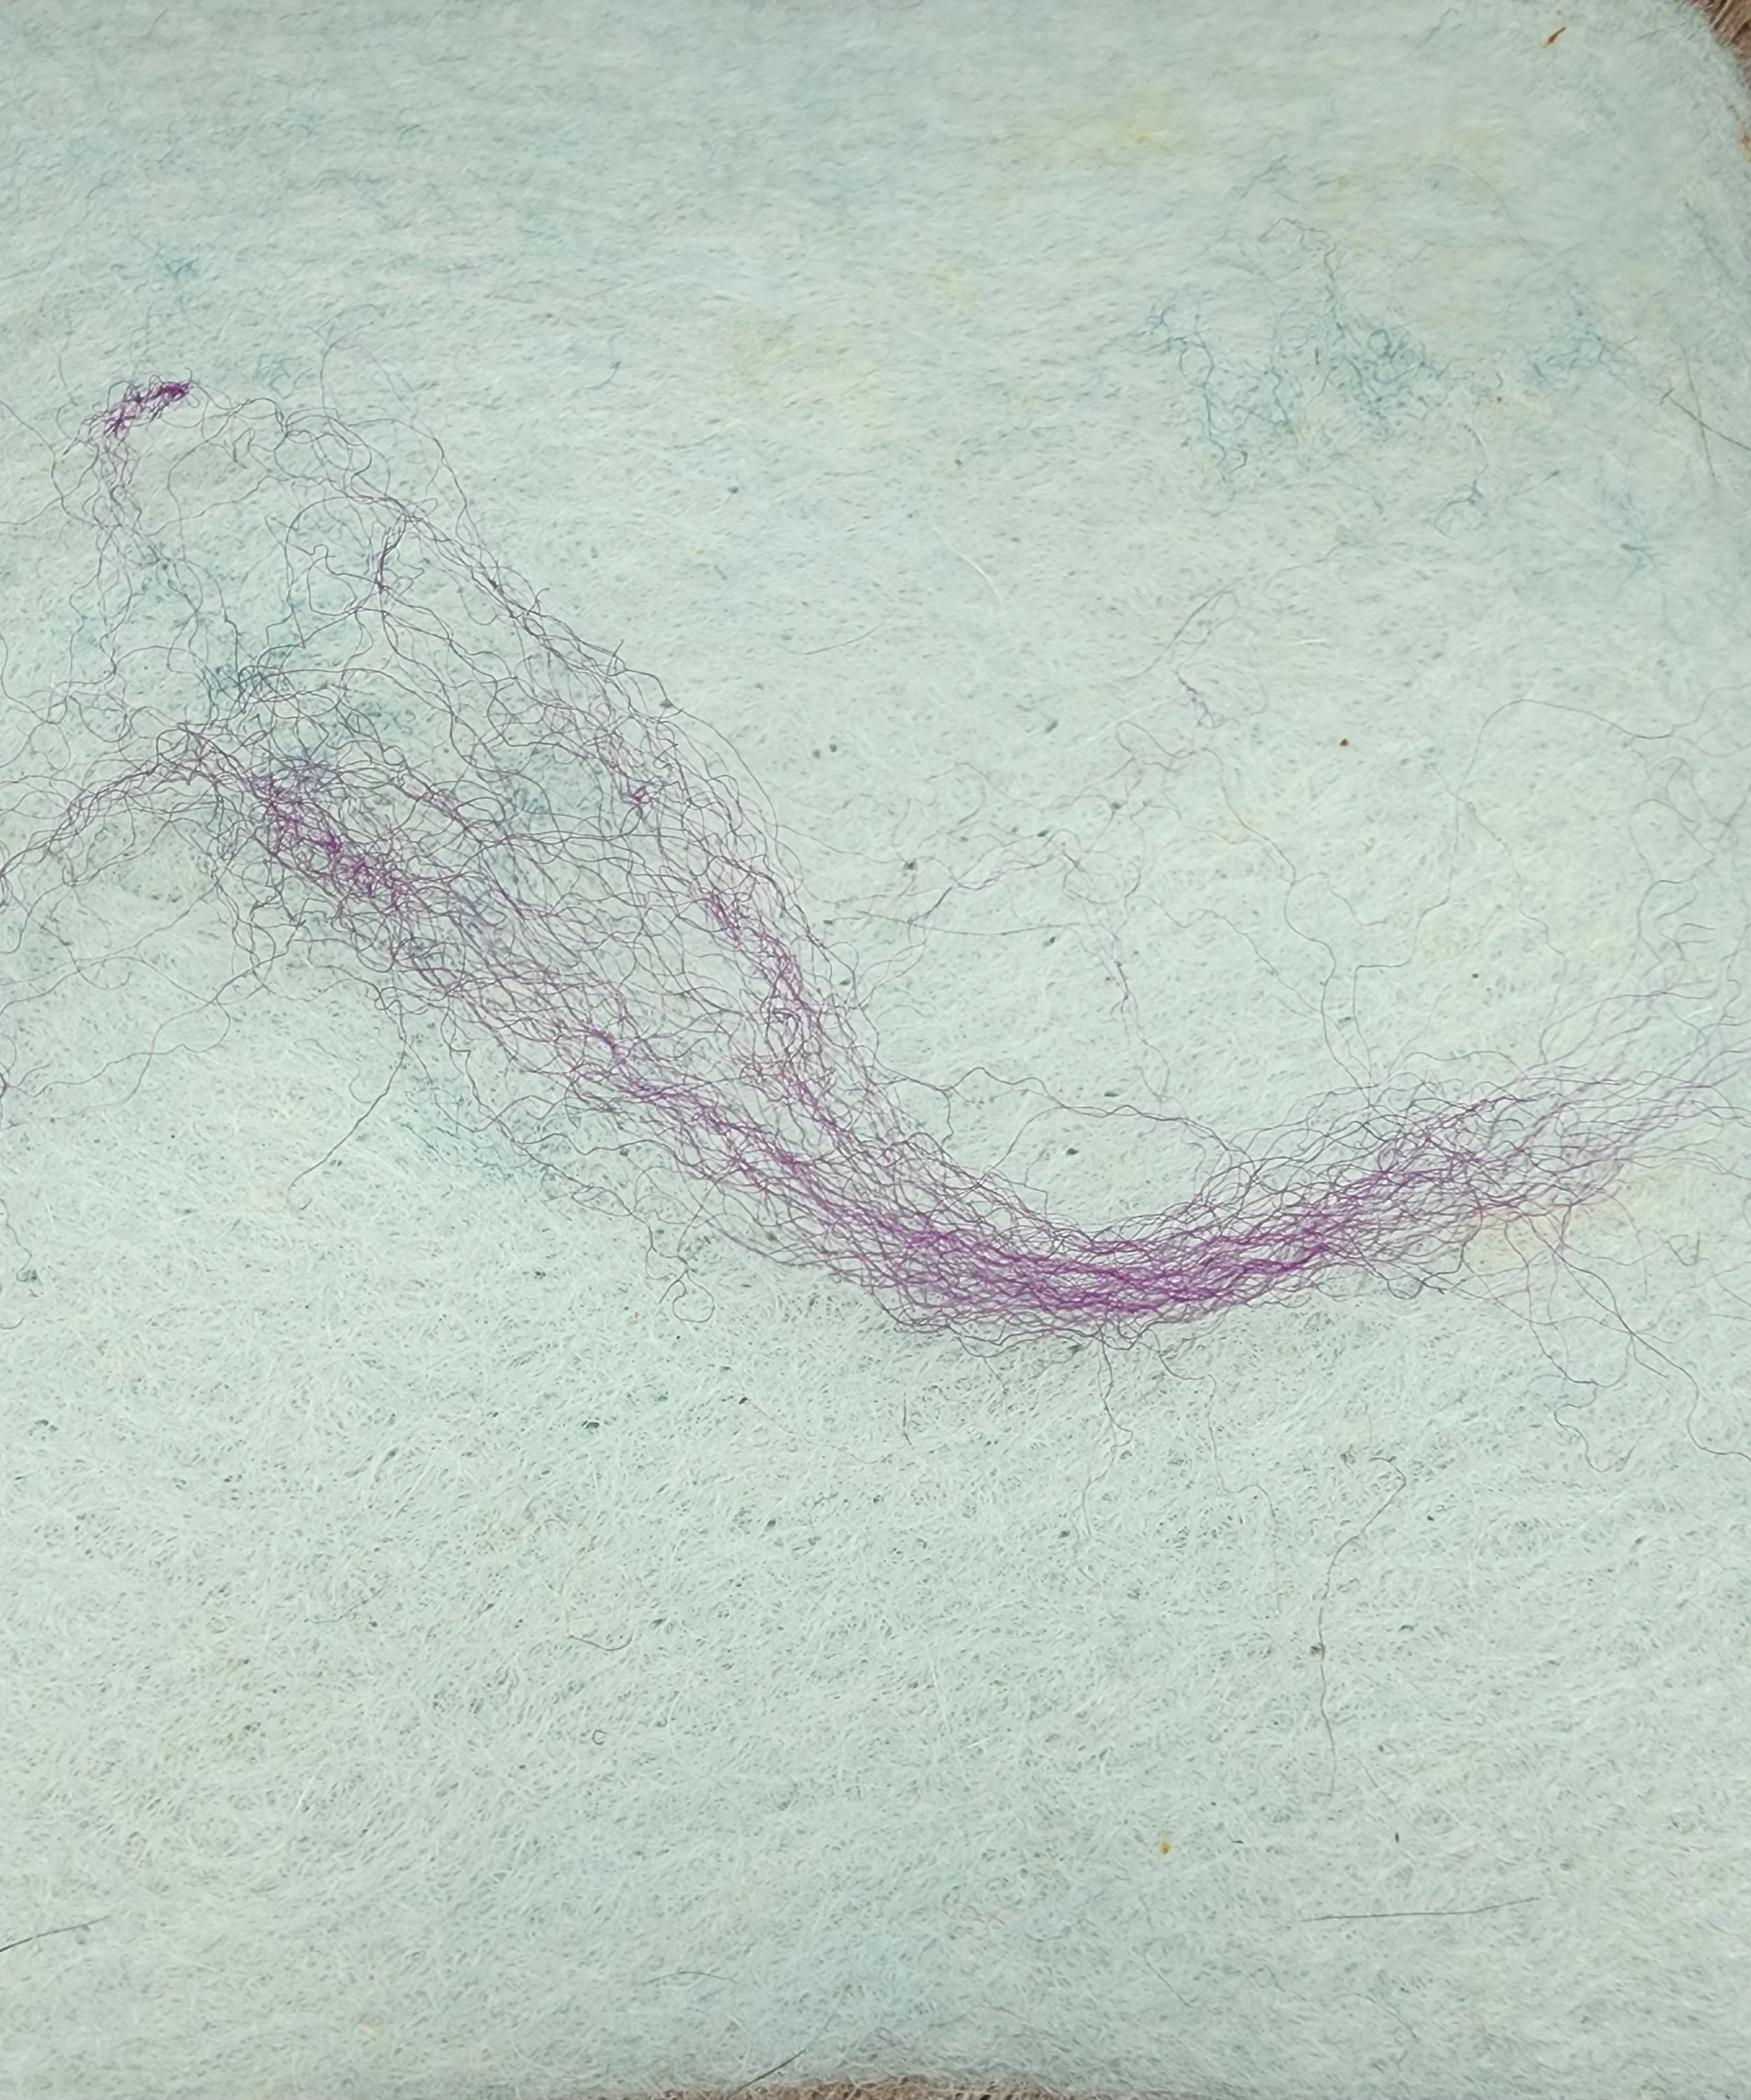
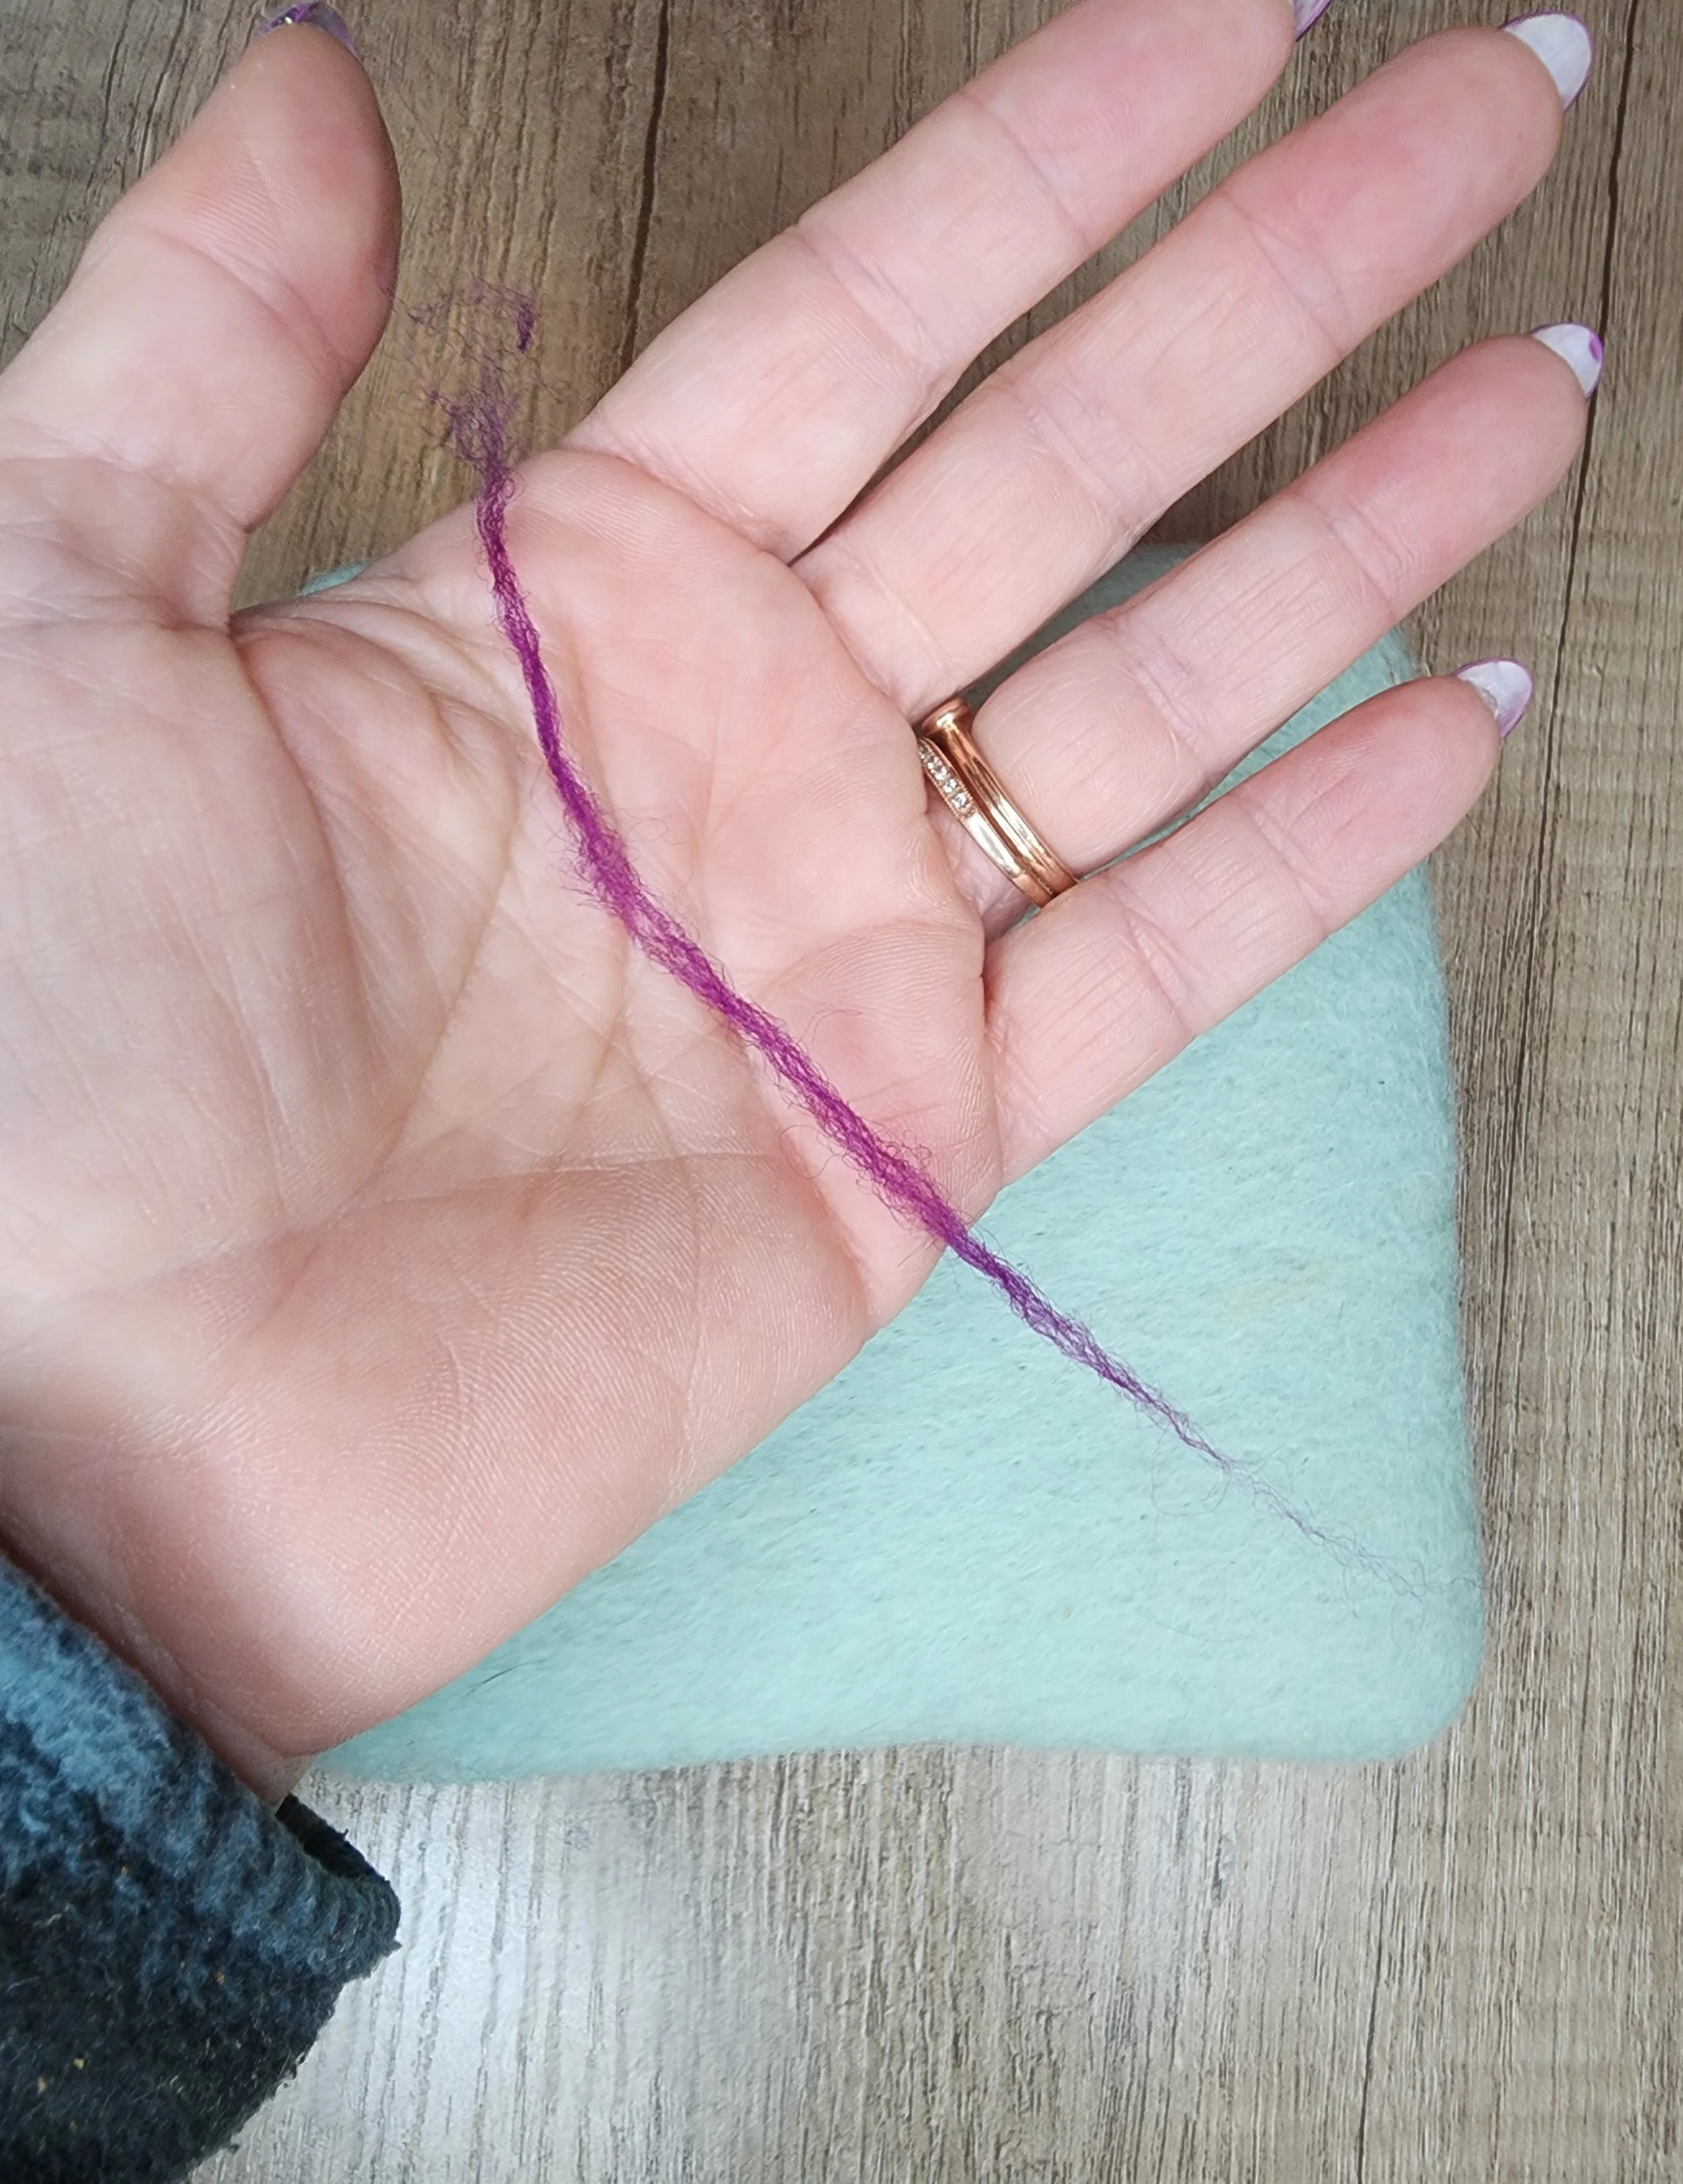
Do the same for the other colors. If you want to soften your lines, just don’t roll the wool in your hands as much.
Gently stab your rolled wool into the heart with the 40 needle. When we are done laying the lines, use your 36 needle for fine-tuning your wool. Stab gently until a smooth texture is achieved. You may have a few flyaway fibers; they can be tamed by stabbing more or by gently pulling them away.
Now for the finishing touches, the beads. First, I unscrew the cap of the glue bottle and squeeze a little glue into it. I then dip a straight pin into the glue. This way, you are getting a very small amount of glue and dabbing it in several places on your heart. I then use the tip of the sticky pin to pick up the beads and place them on top of the glue. Once done, set it aside to dry.
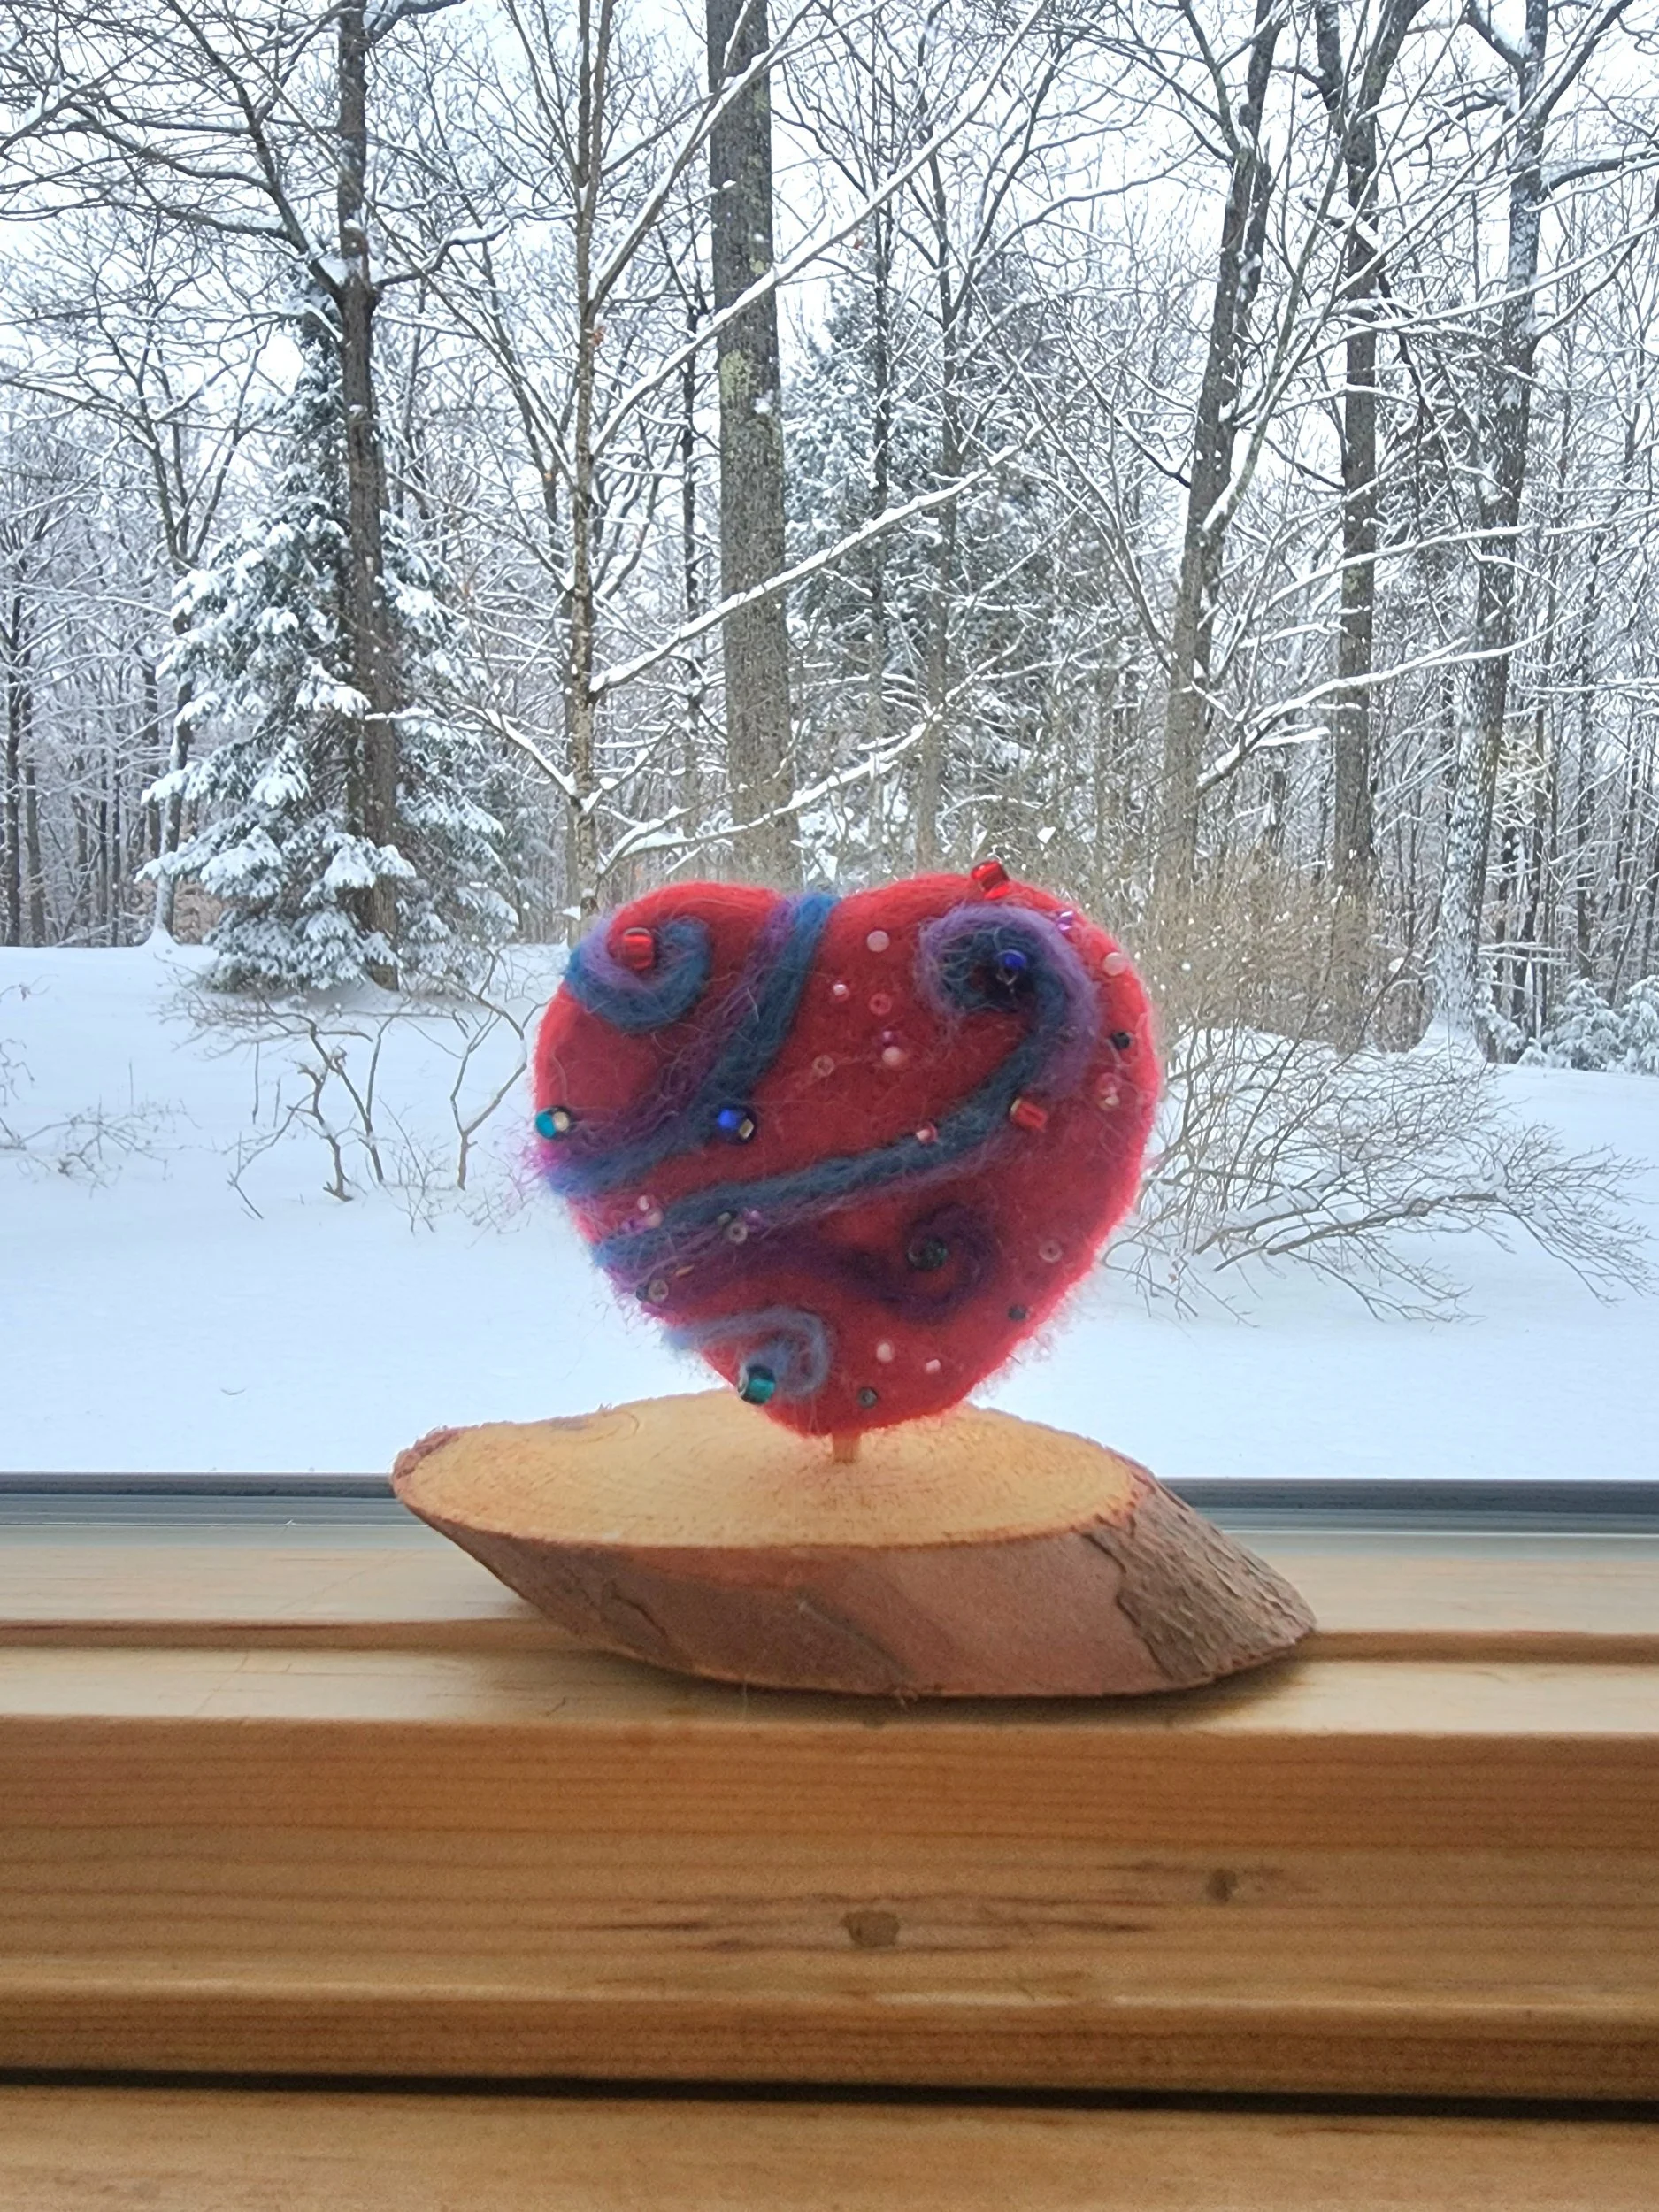
And, there you go, you have a great Valentine to give away or keep as a decoration. As you can see, I have mounted mine. I will talk about mounting sculptures in another article. I hope you had lots of fun creating this gem.